

Wiring continued this week. Being a Triton there is a lot of customisation. I've used a 1971-72 Triumph 650 wiring harness (main + headlight) as a base and modified to suit. As I am using aftermarket switch gear I've had to figure out what was what and wire it in. Once I figured out what was what I was away. I've also wired in an on off switch from the switchgear as an extra safety feature. But first I started at the rear of the bike and made my way forward. Using a smaller battery saves a lot of space, this will be located under the seat hump. I'm also using an after market ignition switch which is a simple two switch set-up.
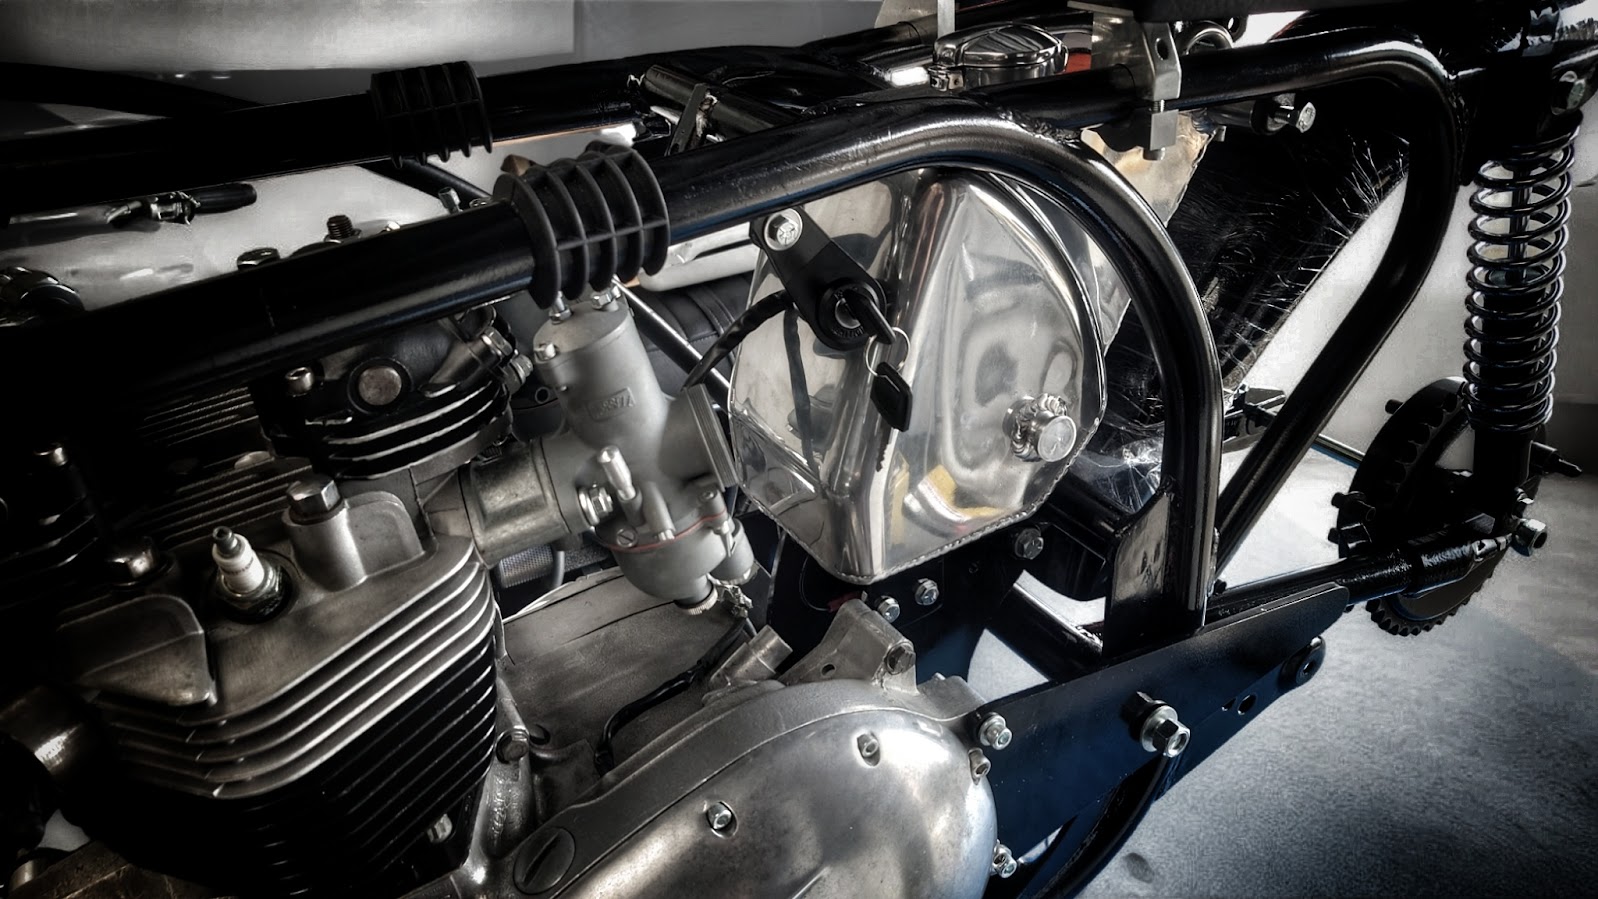
I spend a bit of time figuring out where to put what as space is a premium on these bikes. I'm using a Wassell Rregulator/rectifier and found I could mount that neatly under the seat plate - plenty of air to keep it cool too. I've also decided to mount the pazon ignition box under the same plate and run the ignition feed wires up under the bike (via heat and damage protecting PTFE tubing). Also using a Pazon single coil which is mounted up under the headstock I only need to run the one ignition wire to that from the box. For this I will be using the original coil wire in the lucas harness.
I spent a fair amount of time making sure everything is earthed right and then double checking. I have an earth on the engine, the frame and the headlight. I've also used Japanese style automotive connectors where possible as they are just so much better than the lucas type in my opinion. With everything wired up right up to the headlight I set about tidying things up and wrapping the wires in cloth tape. It makes it looks so much neater! I've also wired in a connector to quickly disconnect the battery and connect a trickle charger. On top of this I have added a circuit breaker fuse instead of the old glass type.
The headlight, switch gear and main harness all connect up at the front next to the head steady. This should leave room for the tank and allow plenty of room so they aren't squashed. It was then time to move onto the headlight and instrument panel wiring. I have added a few upgrades I chose myself. These include a digital voltage gauge which is extremely handy to know exactly how much voltage you have, state of charge and if you even have power. I have also added LED idiot lights with symbols for indicators and high beam. I connected the wiring harness together and it was time for the big test!
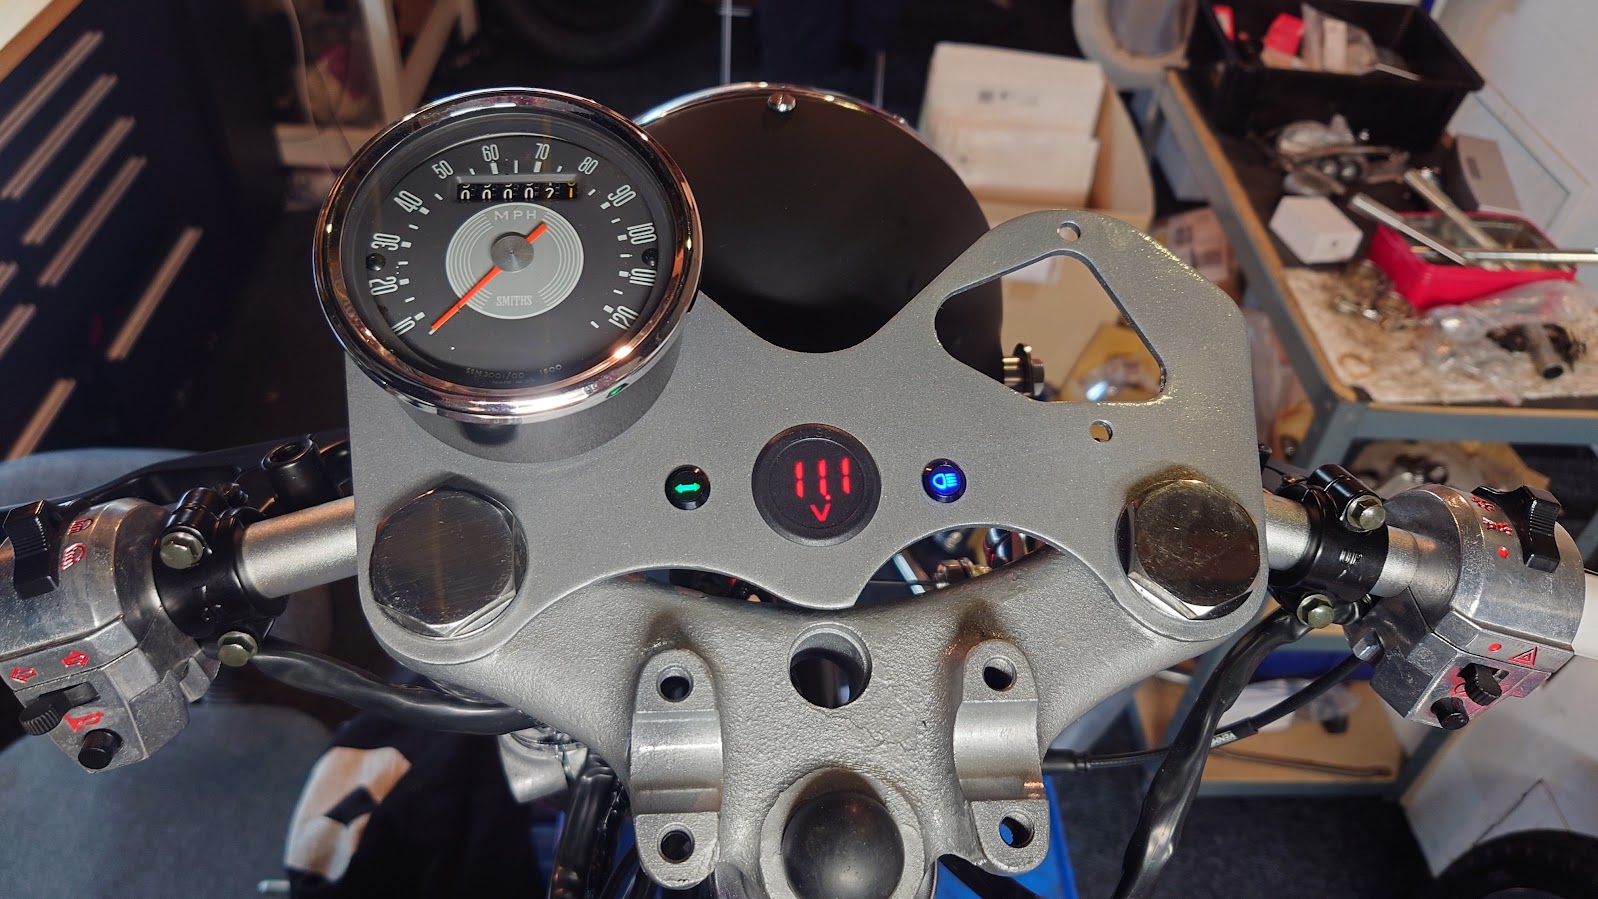
I tuned the battery on for the first time and the voltage gauge lit up! Power!! 12.8 Volts. I then tested the indicators, they worked! And so too did the LED idiot light. Next on to the head light. Away that went too and so too it's warning light. It's all working well! I then went back to tidy things up and double check connections. I noticed that using a incandescent bulb in the tail light does use up a bit of battery. As the battery isn't big I'm going to convert all the indicator and tail lights to LED's. This will save some serious power. So now I wait on the bulbs.
I'm also going to get stuck into the guys doing the wheels as it's been 2 months and I've almost built a whole bike waiting for wheels...
Leave a Comment