

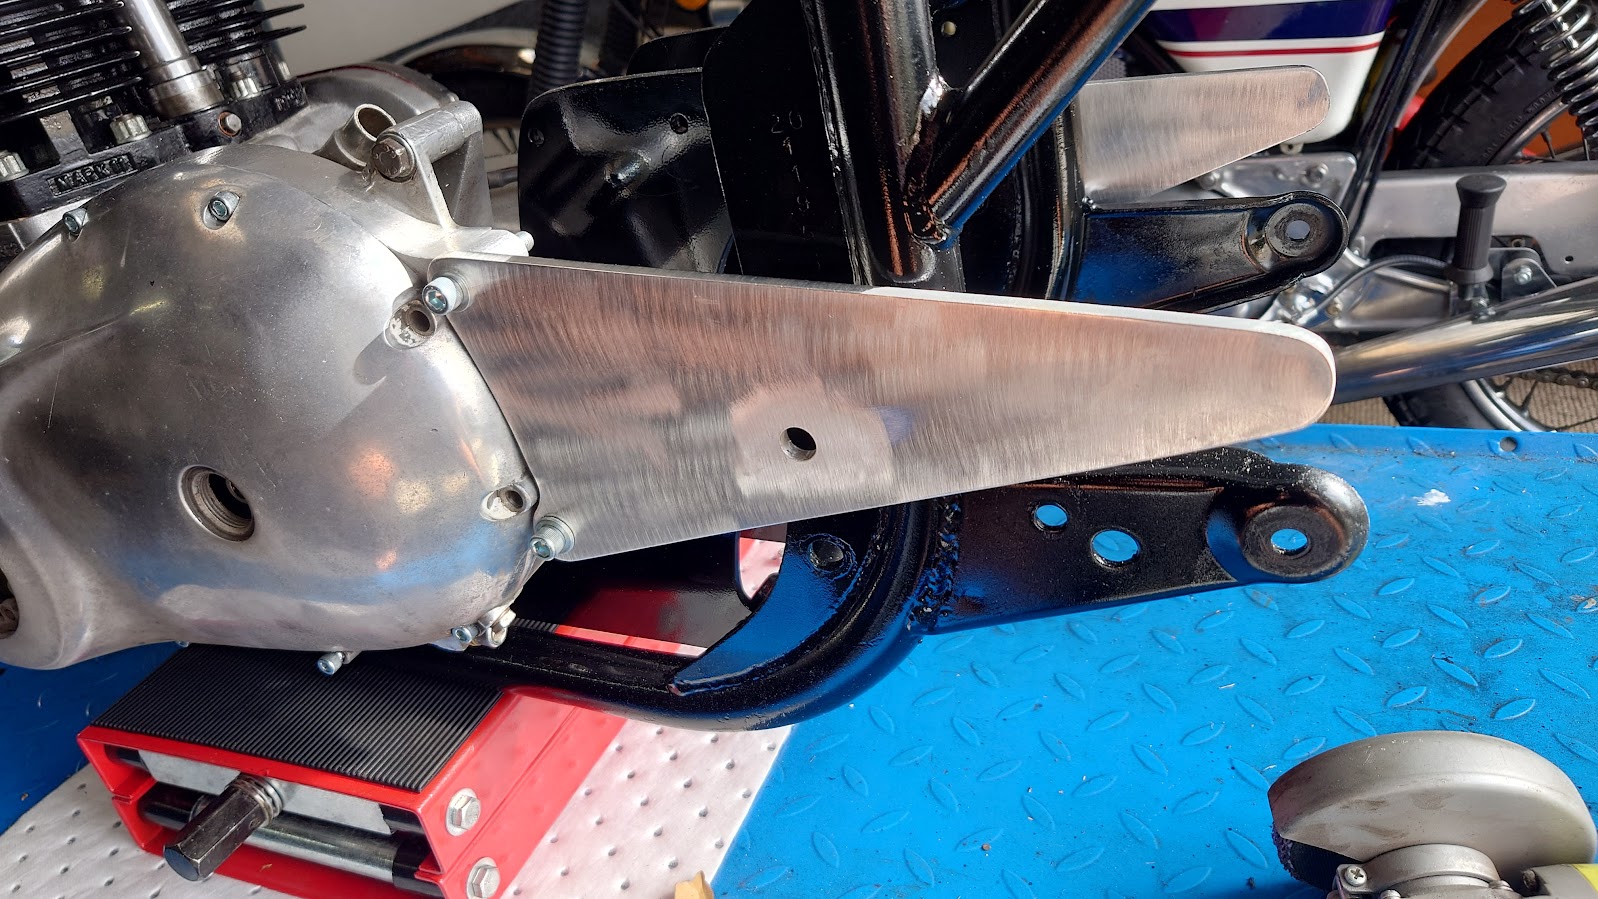
Today, after a holiday break, I jumped back into working on the bike. I focused on the rear set plates, drilling holes to accommodate the extended swing arm bolt and adding a spot for a voltage gauge on the instrument holder. Everything was going smoothly until it was time to paint them, along with the chain guard and the brake and clutch lever clamps. Unfortunately, the new 2k paint had a bit of a meltdown and wouldn't spray properly. I contacted the supplier, and they're sending a replacement. In the meantime, I decided to install the new rear brake pads, which went fine until one of the springs snapped off its retaining tab during the final installation. Those pads will need to be sent back. So, not the best start to the day, but at least progress is being made!
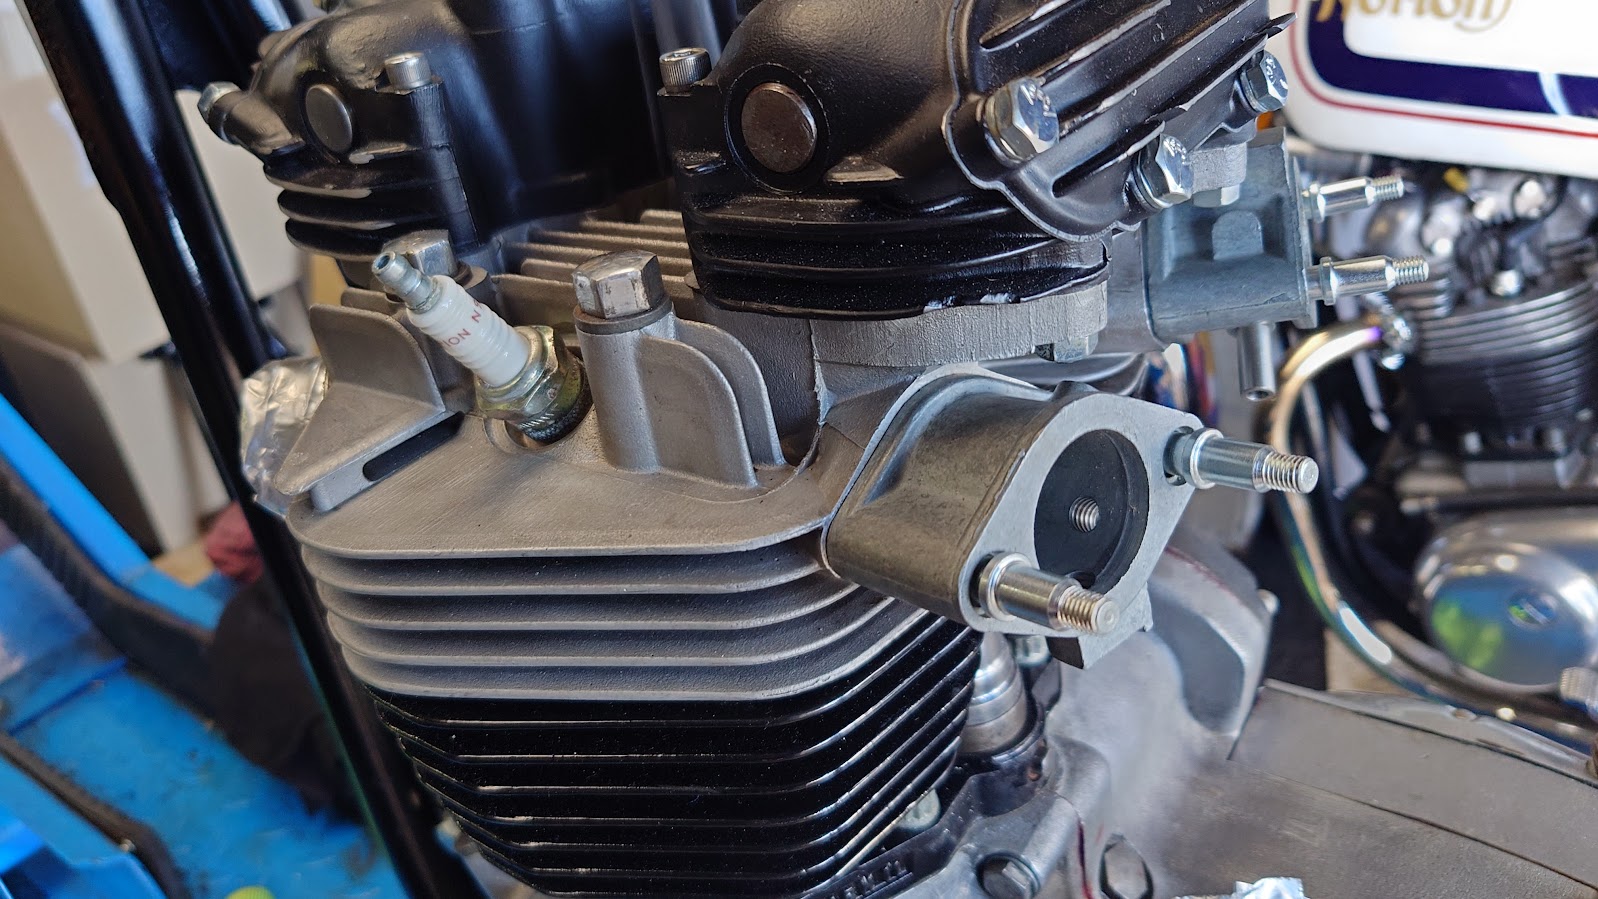
I decided to take a look at the inlet manifolds and do a test fit. They're the T140 type, but I'm working with a '72 T120 engine. I had to figure out which one goes on the left and which on the right. When I tried fitting the mounting stud, it just wouldn't go in. Checked the threads on the head, they're definitely 5/16 UNC. The threads on the bolt match that, but it seems like the stud is a bit wider. I've ordered another stud from a different supplier to see if that solves the issue. Still not having the smoothest day with this project!
Originally, I planned to swap out both sliders with some new ones from a buddy in the USA. However, the RH slider seems alright, and I can find a second-hand RH slider locally, so I'll stick with that plan for now. Still, I'll grab those extra sliders from my friend and keep them as spares just in case.
Speaking of parts, the same guy is sending me a Commando twin leading shoe brake plate and a tacho gauge for this project. And I've also ordered some big bore exhaust pipes from the UK—they're 1 3/4" and should give the bike a hefty sound. I'm going for the standard Bonnie style pipes at the front instead of the traditional swept-back type because I want the engine to be visible; those unit engines are just too cool to hide. Plus, the pipes will have a 15-degree up sweep at the silencer end, which I think will look pretty slick.
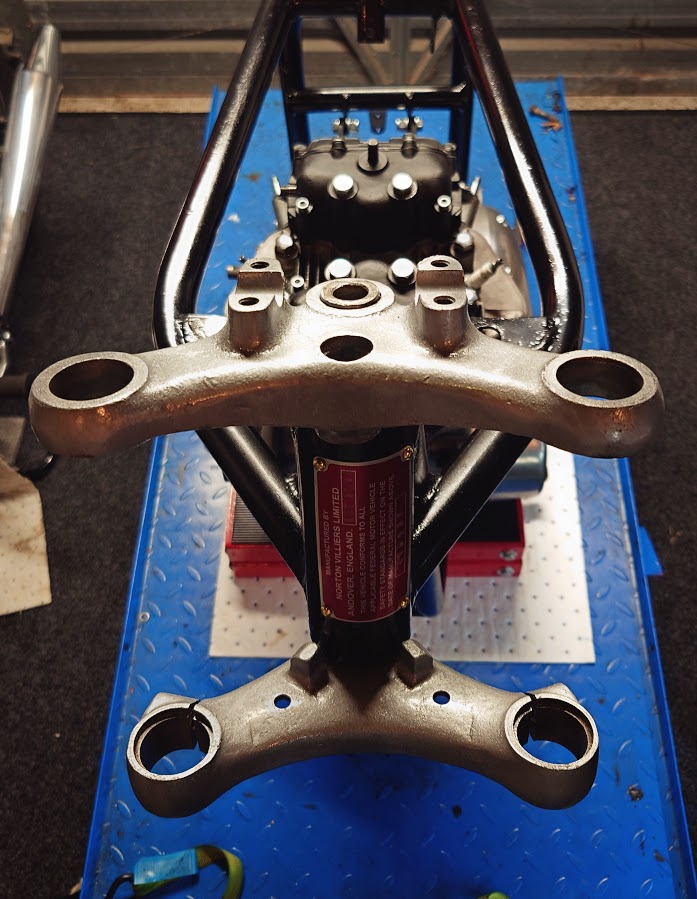
I had another crack at painting using some older paint and managed to get a first coat on at least. Also, got a call from Ken McIntosh; he said the lower yoke is ready, so I swung by and picked that up.
Continued painting the rear-set brackets and clutch/brake clamps, and they've turned out really nice. Now that I have the lower yoke, I test-fitted it, and it fits like a glove. The old Atlas stops on the headstock work perfectly with it. The bottom nut is fitting as it should, and the yoke turns smoothly. For anyone thinking about installing a Commando yoke in a featherbed frame, remember, 7mm is the magic number for how much you need to shave off the lower yoke.
Spent another good hour chatting with Ken—he's nothing short of a genius!
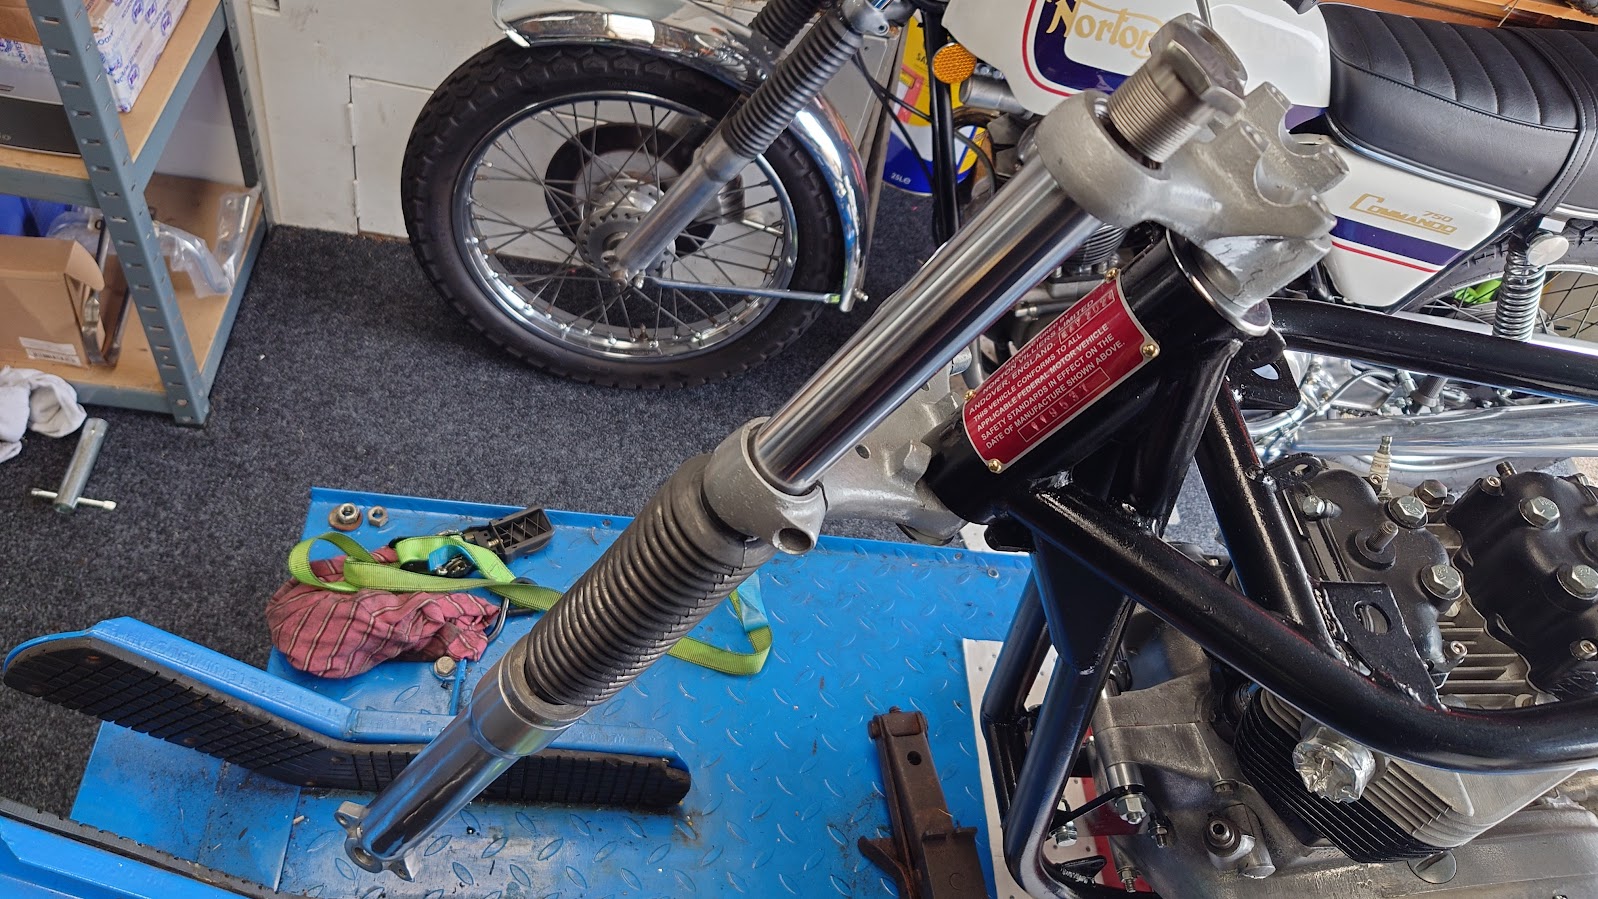
I gave the RH fork leg slider a good polish and then installed the seals, damper spring, stanchions, and everything else for a test fit. Super pleased with how it turned out! The other fork slider should arrive today, so I'll polish that up and get it sorted soon.
I've decided to go with gaiters because I like how they look. The photo shows it on the LH side, but that was just for a test fit to check the yokes.
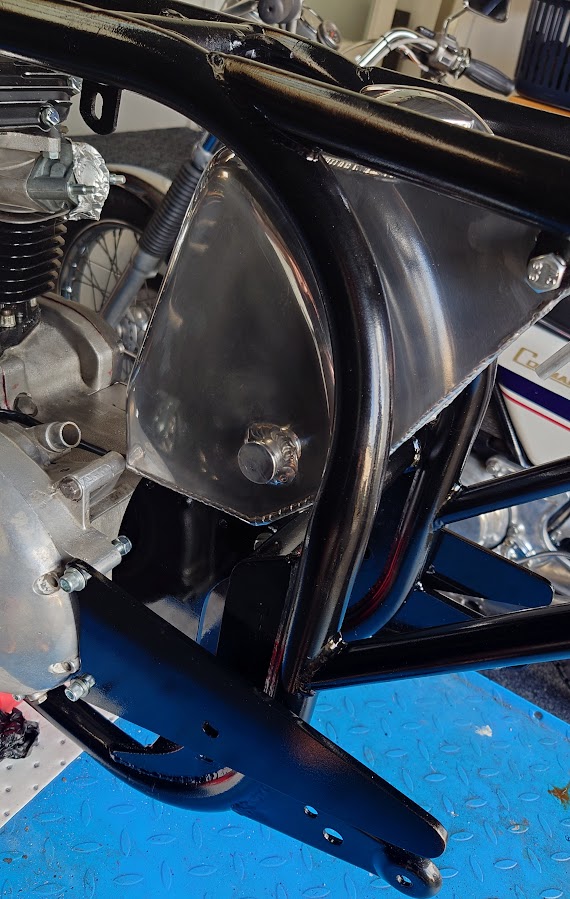
Good news, though—the oil tank has arrived! I sourced this one from the amazing Gordon Scott, and it's incredibly well-made. All I had to do was remove an old bracket from the battery box, and it fit perfectly. The lines are in just the right position. I'll need to make my own battery stand, but that's not a big deal since I've already figured out how I'm going to do it and where I'll mount it.
The tank arrived in a beautiful polished aluminium finish, but I plan to paint it in the future. Next up, I'll tackle the oil lines and will be adding an oil filter to the bike as well.
I also temporarily mounted the freshly painted rear set plates on the frame. Additionally, I dropped off the front mudguard at the local painters to get a nice gloss black finish.
The new LED idiot lights arrived, so I quickly tested them to make sure they work with a positive earth, and they do! I drilled the mounting holes in the instrument holder to test fit everything. For the instruments, I'll be using the speedo, tacho, indicator, high beam idiot lights, and a digital voltage gauge, which I find really useful.
That’s it for this week. More updates to come!

Leave a Comment